
Figma is great. It made the design phase immeasurably more versatile, faster and enjoyable. While using it, I stumbled across some interesting shortcuts that made my work a lot easier. Here are some of them I use on daily basis.
1. Set opacity
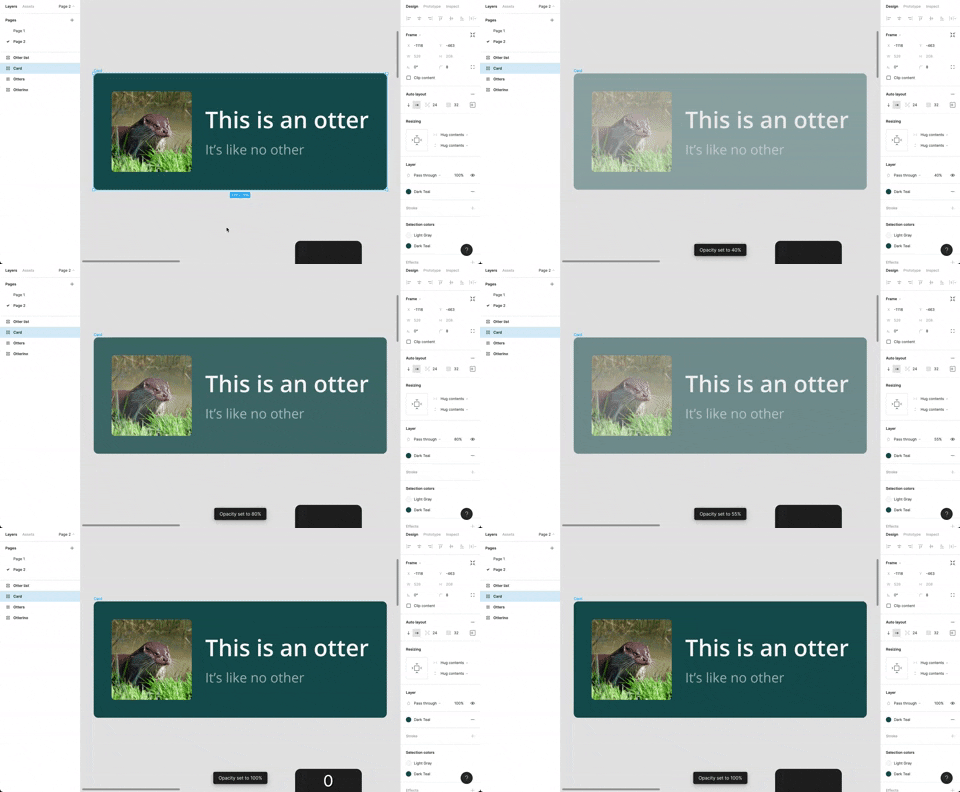
Sliders or input fields are great solutions for setting the opacity, but this solution is on another level. Switching between values is seamless, and the shortcut is so easy to find you might have figured it out by accident.
HOW TO
While the element is selected, simply press the numbers from “0”-”9” to set the desired opacity of the element. You can also use a combination of keys to be more accurate, for example: double tap number “5” to get 55% opacity on element. Keep in mind that “0” means 100% opacity, but double tapping “0” gets you 0%.
2. Frame / Unframe (with Auto layout)
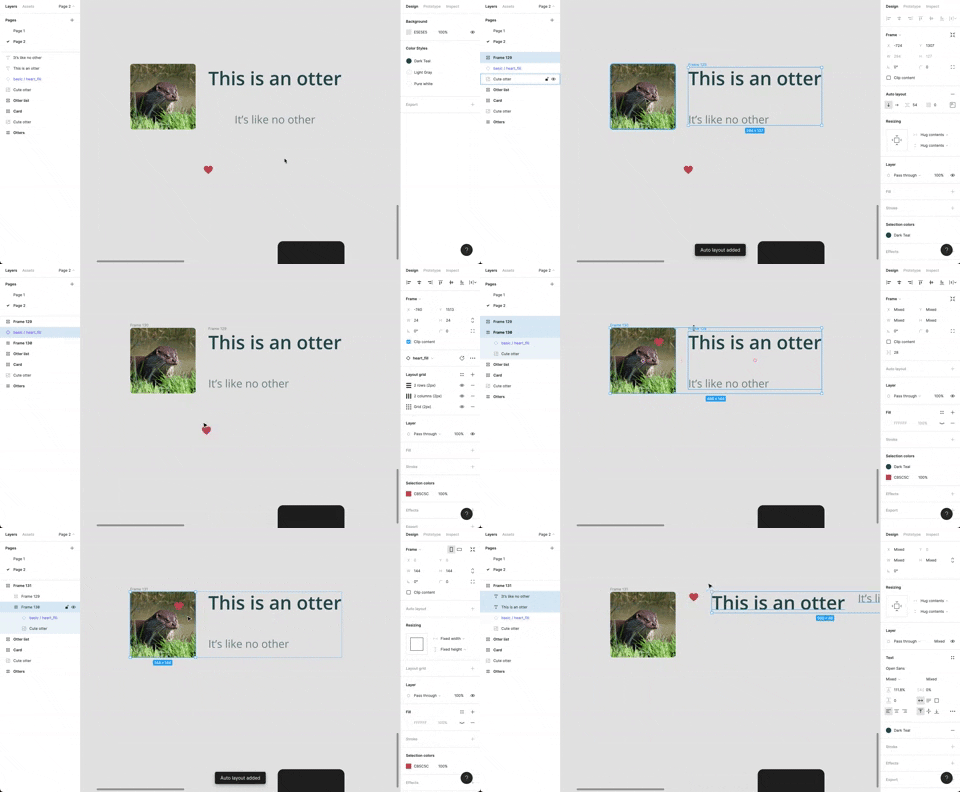
Framing and unframing shortcut combined with Auto layout shortcut lets you iterate on your design faster and with more efficiency. Auto layout is a versatile feature that is definitely worth exploring (if you haven’t already).
HOW TO
To create a Frame around the object(s) press “⌥ Option” + “⌘ Command” + “G” (“Ctrl” + “Alt” + “G” on Windows). To put one or more objects into Auto layout, press “⇧ Shift” + “A”. Removing the Auto layout, Unframing or Ungrouping is done with “⇧ Shift” + “⌘ Command” + “G” (“⇧ Shift” + “Ctrl” + “G” on Windows) key combination.
3. Select child / parent
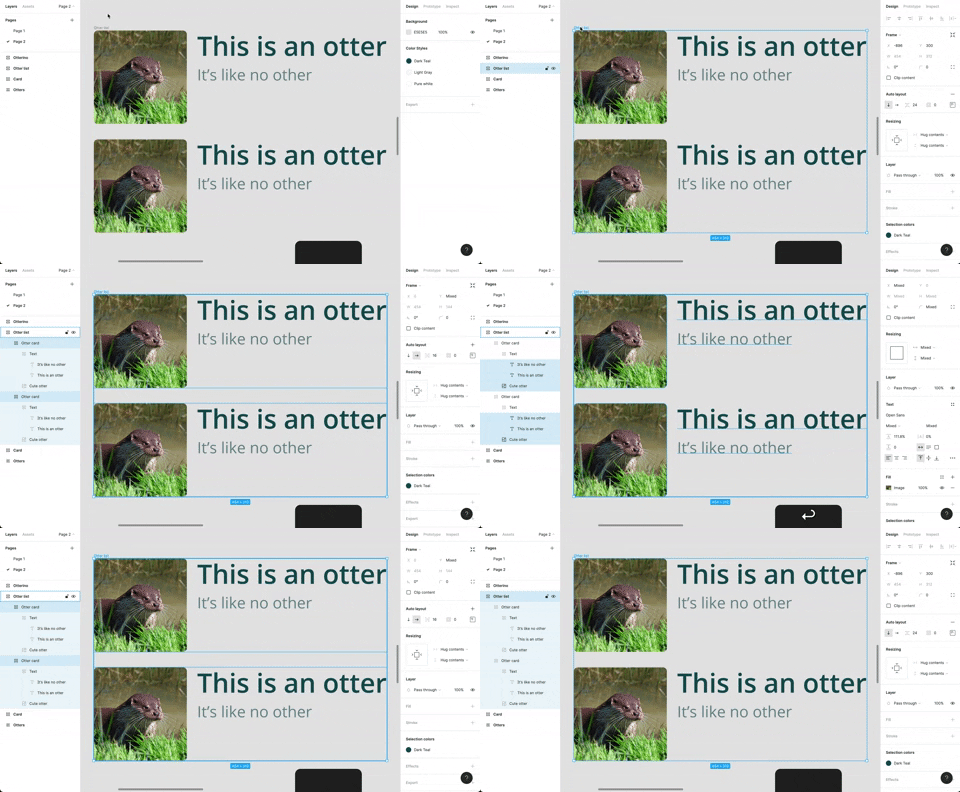
Browsing through nested elements doesn’t need to be done with a mouse. You can use this shortcut to quickly access all child elements, as well as parent elements. Also, this shortcut comes really useful while using Figma Mirror because you can reach to the main frame really fast.
HOW TO
To access the children elements click “Enter”. To access the childrens’ children, click “Enter” again. In contrast, to access the parent element click “⇧ Shift” + “Enter”.
4. Scale from center
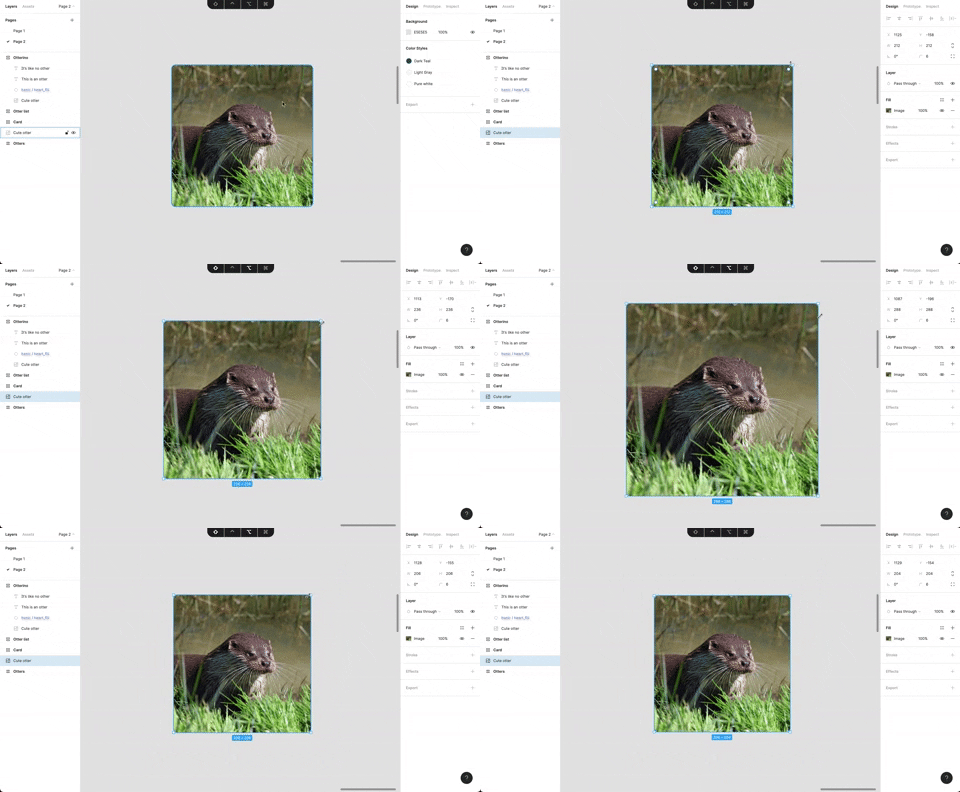
This one comes handy while drawing wireframes or quickly sketching some screens. While working with frames, you might need to use another shortcut called Ignore constraints (hold “⌘ Command” for Mac users or “Ctrl” for Windows users).
HOW TO
Grab one of the corners and then hold “⇧ Shift” + “⌥ Option” (“⇧ Shift” + “Alt” on Windows) while you resize selected element to the desired size.
5. Copy as PNG
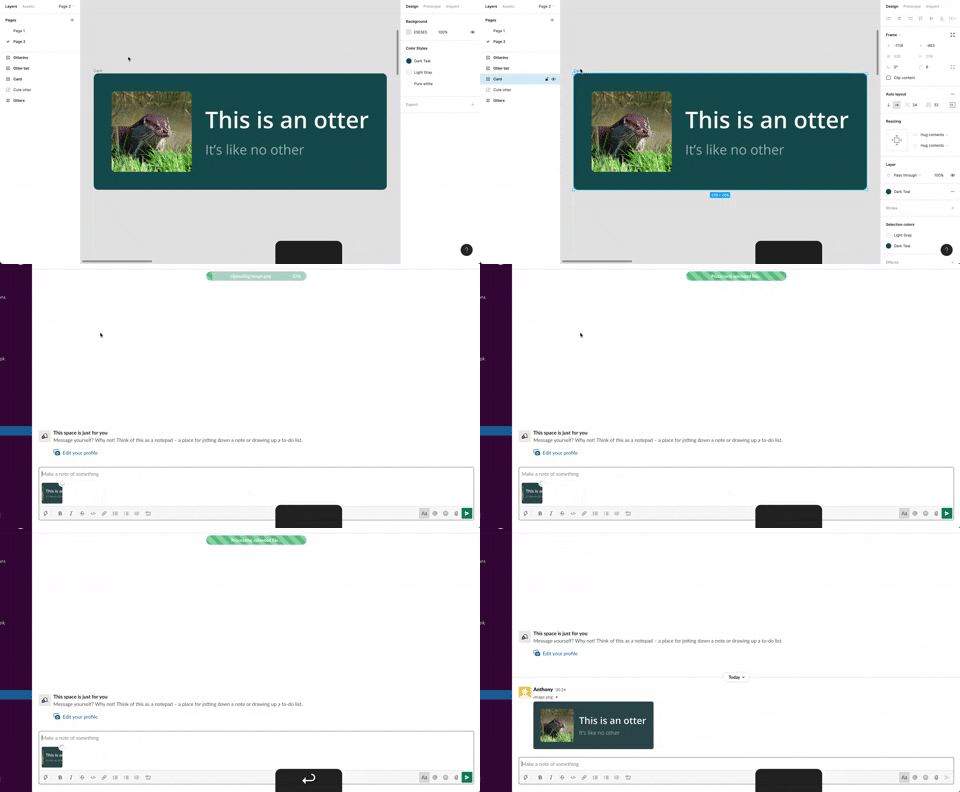
This is definitely my favorite shortcut. It made pasting an element from Figma to any communication platform so efficient. Not only does it save you a lot of time, but it also keeps your storage space free of clutter since you don’t need to export the element. Note that it exports 2x size PNG by default (but you can change that in the Export section at right hand side).
HOW TO
Select any element (picture, frame, group,…) then press “⇧ Shift” + “⌘ Command” + “C” (“⇧ Shift” + “Ctrl” + “C” on Windows) to copy as PNG. You can paste this PNG in any software that supports sending any kind of pictures.
Thanks for reading.