Tech & Trends
31. 01. 2022
How to add a splash screen to a React Native app - The easy way

A splash screen is the first screen the users see after tapping the app icon. It’s typically a simple screen with your app logo in the center and goes away once the app is ready to launch.
There are two popular packages for adding a splash screen to your app. Namely react-native-splash-screen and expo-splash-screen. While both of them work, the problem is that they’re complicated to install and control. There’s a much simpler way to add a splash screen and I’m going to show you how.
The idea is to move the splash screen from native code to Javascript. This will give us more control over the rendering, plus we can have matching splash screens on both platforms. We’re going to do a couple of things:
- Manually set a blank, single-color splash screen background on the native side
- On iOS, set the background color of the React Native root view to that same color
- As soon as React Native loads, add a View with the same color in React Native and fade in the app logo on it
- Once the app loads, fade out the splash screen
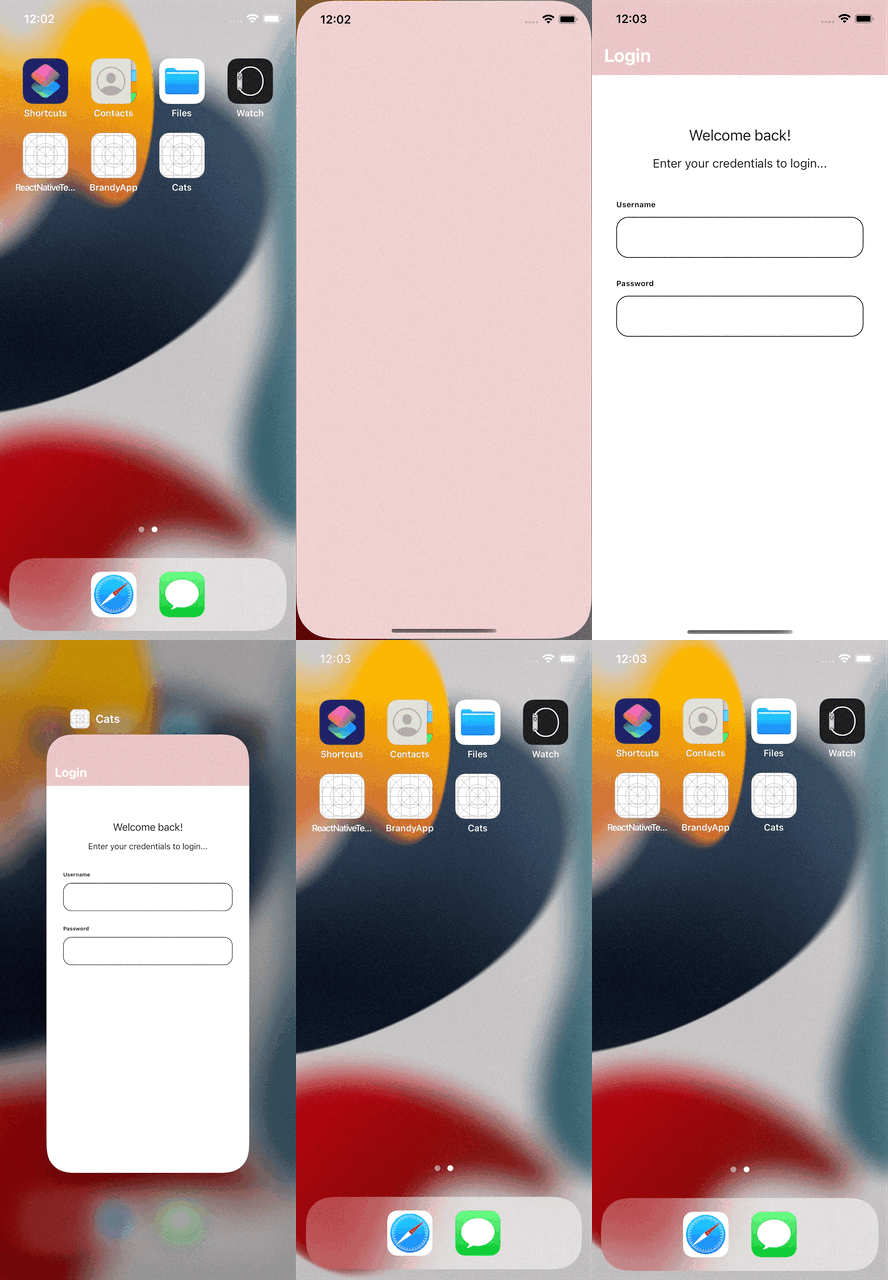
The idea is to show the same color screen while the app boots up and React Native initializes. This is typically really short. Then we fade in the splash screen from our React Native code, and while the splash screen is visible, we can initialize the app, fetch assets, load configuration files, and everything else.
Here’s what the final product looks like:

Prerequisites
Pick a background color and get the hex value and RGB values in the range 0-1. In my example I picked #E0B9BB. The RGB values are 0.87843, 0.72549 and 0.73333. You can use this converter to grab the RGB values easily.
Now pick an image you’ll show in the center of the splash screen. This can be the logo, the app icon, or anything else. In my case, it’s a PNG of my cat.
Setting a blank background on iOS
Open AppDelegate.m and change the lines
  if (@available(iOS 13.0, *)) {
      rootView.backgroundColor = [UIColor systemBackgroundColor];
  } else {
      rootView.backgroundColor = [UIColor whiteColor];
  }
to simply say
rootView.backgroundColor = [UIColor colorWithRed:0.87843 green:0.72549 blue:0.73333 alpha:1.0];Make sure to change the RGB values to match your color.
This changed the background color of the React Native root view, but we still need to change the background of the whole app. You could do this step through XCode but I find it faster to use a text editor. Simply paste this code into your ios/<AppName>/LaunchScreen.storyboard file:
<?xml version="1.0" encoding="UTF-8"?>
<document type="com.apple.InterfaceBuilder3.CocoaTouch.Storyboard.XIB" version="3.0" toolsVersion="19529" targetRuntime="iOS.CocoaTouch" propertyAccessControl="none" useAutolayout="YES" launchScreen="YES" useTraitCollections="YES" useSafeAreas="YES" colorMatched="YES" initialViewController="01J-lp-oVM">
    <device id="retina4_7" orientation="portrait" appearance="light"/>
    <dependencies>
        <deployment identifier="iOS"/>
        <plugIn identifier="com.apple.InterfaceBuilder.IBCocoaTouchPlugin" version="19519"/>
        <capability name="Safe area layout guides" minToolsVersion="9.0"/>
        <capability name="documents saved in the Xcode 8 format" minToolsVersion="8.0"/>
    </dependencies>
    <scenes>
        <!--View Controller-->
        <scene sceneID="EHf-IW-A2E">
            <objects>
                <viewController id="01J-lp-oVM" sceneMemberID="viewController">
                    <view key="view" autoresizesSubviews="NO" opaque="NO" clearsContextBeforeDrawing="NO" userInteractionEnabled="NO" contentMode="scaleToFill" id="1L6-XZ-uwR">
                        <rect key="frame" x="0.0" y="0.0" width="375" height="667"/>
                        <autoresizingMask key="autoresizingMask" flexibleMaxX="YES" flexibleMaxY="YES"/>
                        <viewLayoutGuide key="safeArea" id="VQL-mw-5y0"/>
                        <color key="backgroundColor" red="0.87843" green="0.72549" blue="0.73333" alpha="1" colorSpace="calibratedRGB"/>
                    </view>
                </viewController>
                <placeholder placeholderIdentifier="IBFirstResponder" id="iYj-Kq-Ea1" userLabel="First Responder" sceneMemberID="firstResponder"/>
            </objects>
            <point key="canvasLocation" x="22" y="100"/>
        </scene>
    </scenes>
</document>
Note that you’ll have to change the line that starts with <color key="backgroundColor" and replace the RGB values with your own.
If you run the app at this point, you should see the background color you picked.

Setting a blank background on Android
On Android, all you have to do is add the following line to android/app/src/main/res/values/styles.xml file inside the <style> tag of your app theme:
<item name="android:windowBackground">#E0B9BB</item>The file should look like this:
<resources>
    <style name="AppTheme" parent="Theme.AppCompat.DayNight.NoActionBar">
        <item name="android:windowBackground">#E0B9BB</item>
    </style>
</resources>
The JS part
Now let’s add the Splash component. It works like this:
- At first, it shows only a blank View with the background color we picked. This is visible until the splash screen image is loaded into memory
- The image fades in
- We wait in this state until the app is initialized and ready to run
- The whole splash screen fades out, revealing the app’s first screen
- Finally, the splash screen assets are cleaned up
import React, { useEffect, useRef, useState } from "react";
import { Animated, StyleSheet } from "react-native";

export function WithSplashScreen({
  children,
  isAppReady,
}: {
  isAppReady: boolean;
  children: React.ReactNode;
}) {
  return (
    <>
      {isAppReady && children}

      <Splash isAppReady={isAppReady} />
    </>
  );
}

const LOADING_IMAGE = "Loading image";
const FADE_IN_IMAGE = "Fade in image";
const WAIT_FOR_APP_TO_BE_READY = "Wait for app to be ready";
const FADE_OUT = "Fade out";
const HIDDEN = "Hidden";

export const Splash = ({ isAppReady }: { isAppReady: boolean }) => {
  const containerOpacity = useRef(new Animated.Value(1)).current;
  const imageOpacity = useRef(new Animated.Value(0)).current;

  const [state, setState] = useState<
    | typeof LOADING_IMAGE
    | typeof FADE_IN_IMAGE
    | typeof WAIT_FOR_APP_TO_BE_READY
    | typeof FADE_OUT
    | typeof HIDDEN
  >(LOADING_IMAGE);

  useEffect(() => {
    if (state === FADE_IN_IMAGE) {
      Animated.timing(imageOpacity, {
        toValue: 1,
        duration: 1000, // Fade in duration
        useNativeDriver: true,
      }).start(() => {
        setState(WAIT_FOR_APP_TO_BE_READY);
      });
    }
  }, [imageOpacity, state]);

  useEffect(() => {
    if (state === WAIT_FOR_APP_TO_BE_READY) {
      if (isAppReady) {
        setState(FADE_OUT);
      }
    }
  }, [isAppReady, state]);

  useEffect(() => {
    if (state === FADE_OUT) {
      Animated.timing(containerOpacity, {
        toValue: 0,
        duration: 1000, // Fade out duration
        delay: 1000, // Minimum time the logo will stay visible
        useNativeDriver: true,
      }).start(() => {
        setState(HIDDEN);
      });
    }
  }, [containerOpacity, state]);

  if (state === HIDDEN) return null;

  return (
    <Animated.View
      collapsable={false}
      style={[style.container, { opacity: containerOpacity }]}
    >
      <Animated.Image
        source={require("~/assets/splash.png")}
        fadeDuration={0}
        onLoad={() => {
          setState(FADE_IN_IMAGE);
        }}
        style={[style.image, { opacity: imageOpacity }]}
        resizeMode="contain"
      />
    </Animated.View>
  );
};

const style = StyleSheet.create({
  container: {
    ...StyleSheet.absoluteFillObject,
    backgroundColor: '#E0B9BB',
    alignItems: "center",
    justifyContent: "center",
  },
  image: {
    width: 250,
    height: 250,
  },
});
Note that you must change the colors and the path to your image asset to match your project.
You could add more content to your splash screen if you feel it’s necessary.
Lastly, we need to actually use this component in our app. My app entry point looks like this, and you’ll probably have something similar. The idea is to wrap your app entry point in the WithSplashScreen component and once the app is initialized, set the isAppReady prop to true.
export function AppEntry() {
  const store = useRef(undefined);
  const queryClient = useRef(undefined);

  const [isAppReady, setIsAppReady] = useState(false);

  useEffect(() => {
    initialize().then((context) => {
      store.current = context.store;
      queryClient.current = context.queryClient;

      setIsAppReady(true);
    });
  }, []);

  return (
    <WithSplashScreen isAppReady={isAppReady}>
      <StoreProvider store={store.current}>
        <QueryClientProvider client={queryClient.current}>
          <SafeAreaProvider>
            <KeyboardAvoidingView>
              <ModalProvider>
                <Router />
              </ModalProvider>
            </KeyboardAvoidingView>
          </SafeAreaProvider>
        </QueryClientProvider>
      </StoreProvider>
    </WithSplashScreen>
  );
}
If you did everything right, the end result should look something like this:

Conclusion
Instead of adding complex native dependencies that are hard to control, it’s easy to add a splash screen to your app with just a couple of changes on the native side. As a benefit, you get extra control over how the splash screen looks and behaves.
We are available for partnerships and open for new projects.